25 Butterfly Haircuts for Volume Without Losing Length
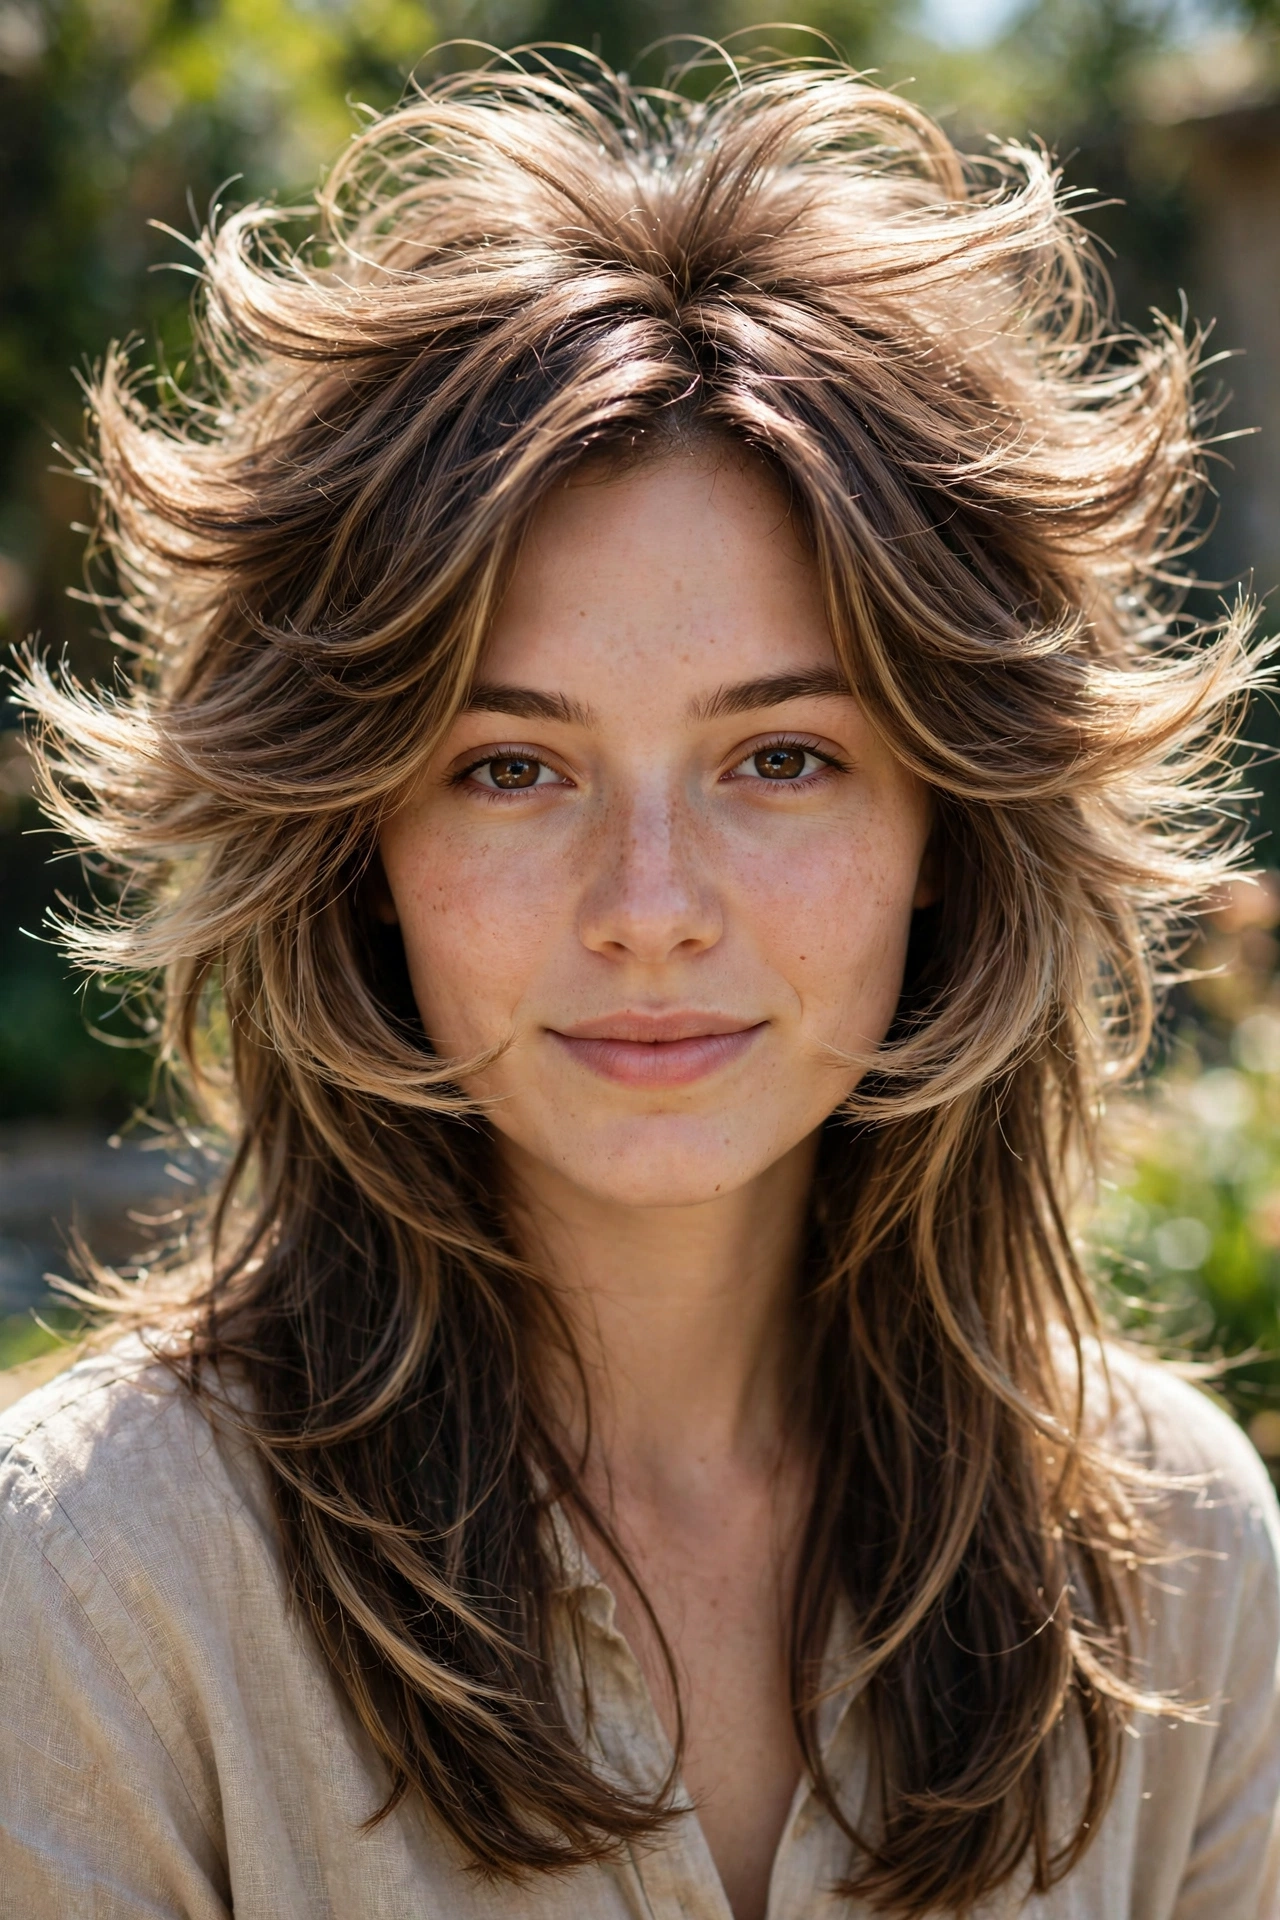
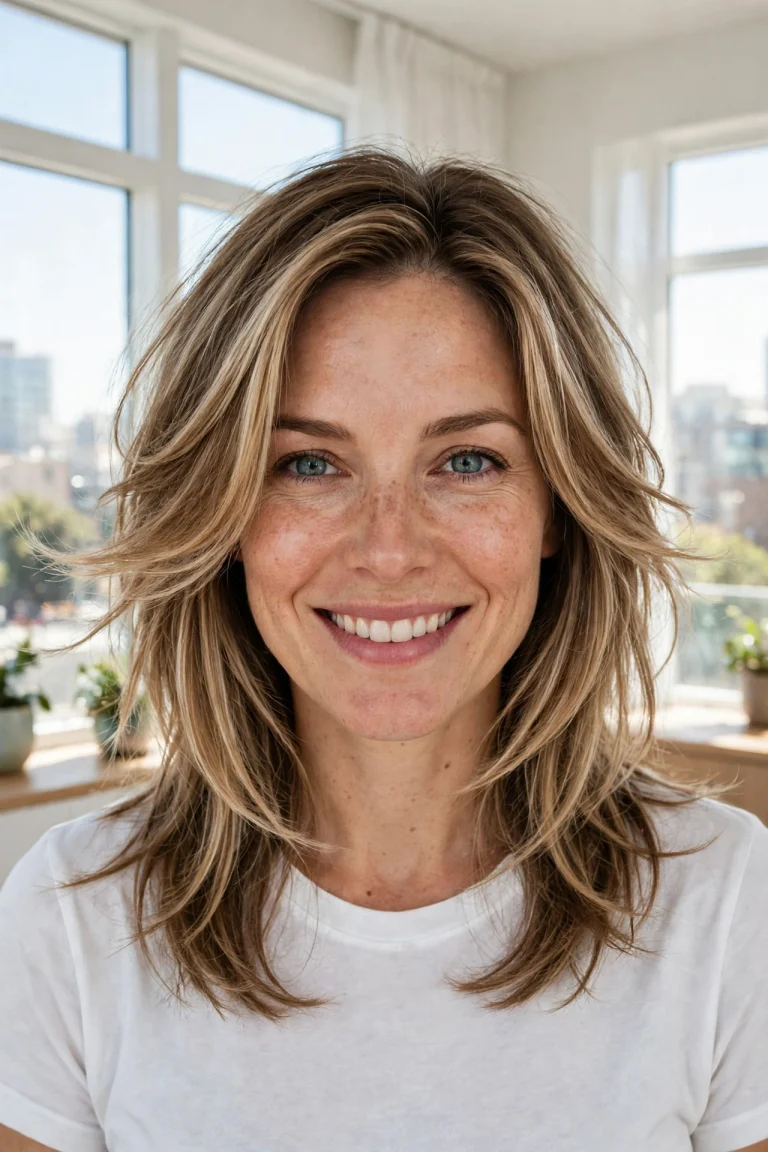
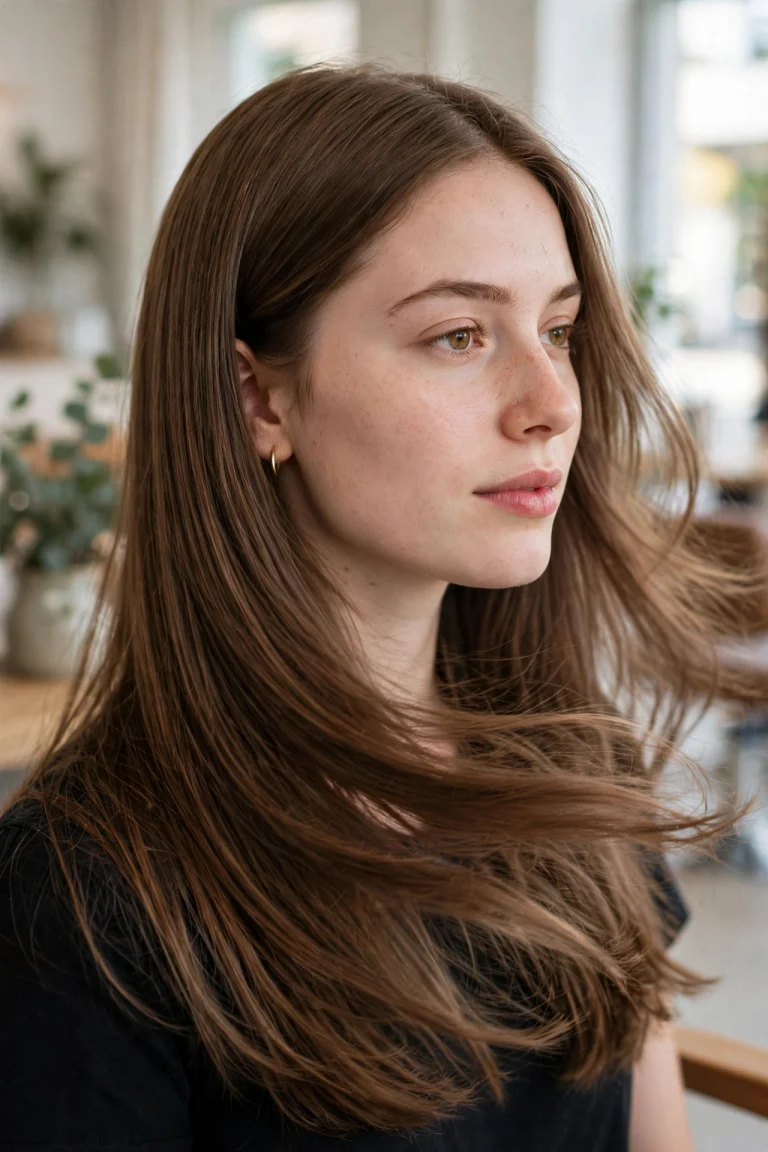
The butterfly haircut is the cut that lets long hair have it both ways. Short, airy layers through the crown and around the face create the lift and movement of a much shorter style, while the lengths underneath stay long, so nothing precious is sacrificed. These 25 butterfly variations show how the same clever layering adapts to every texture, face shape, and styling mood, all without losing an inch of length that matters.
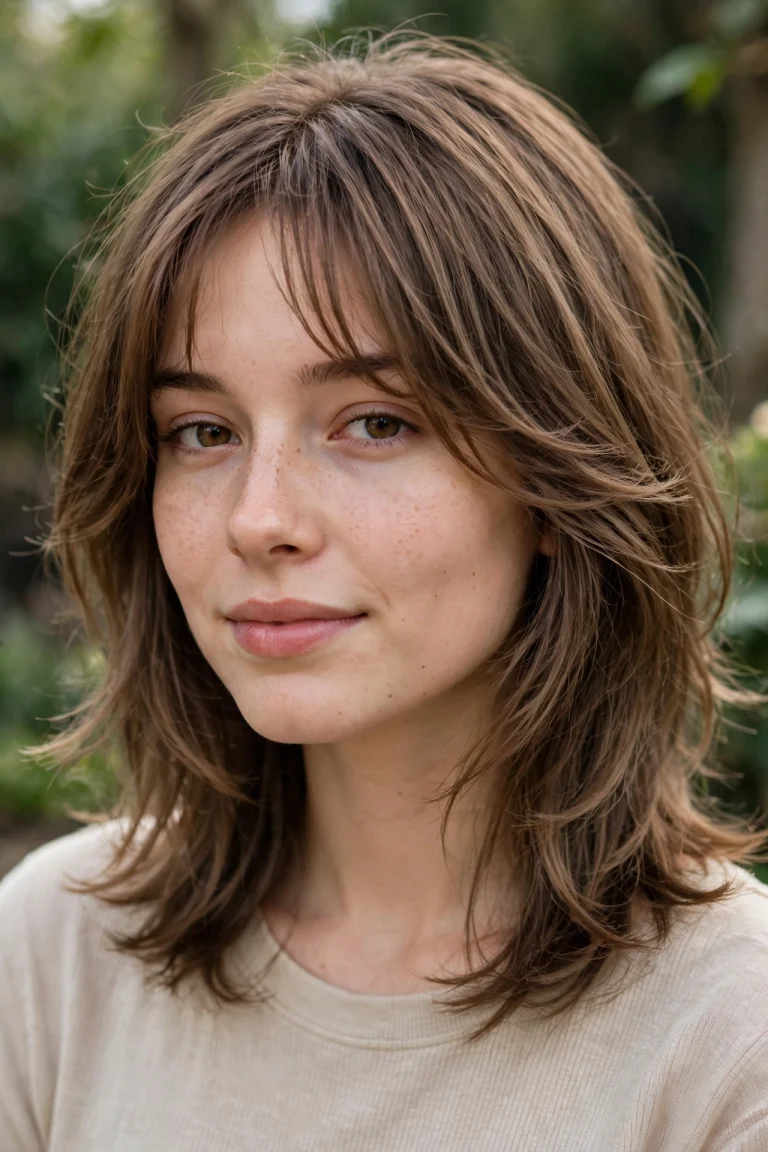
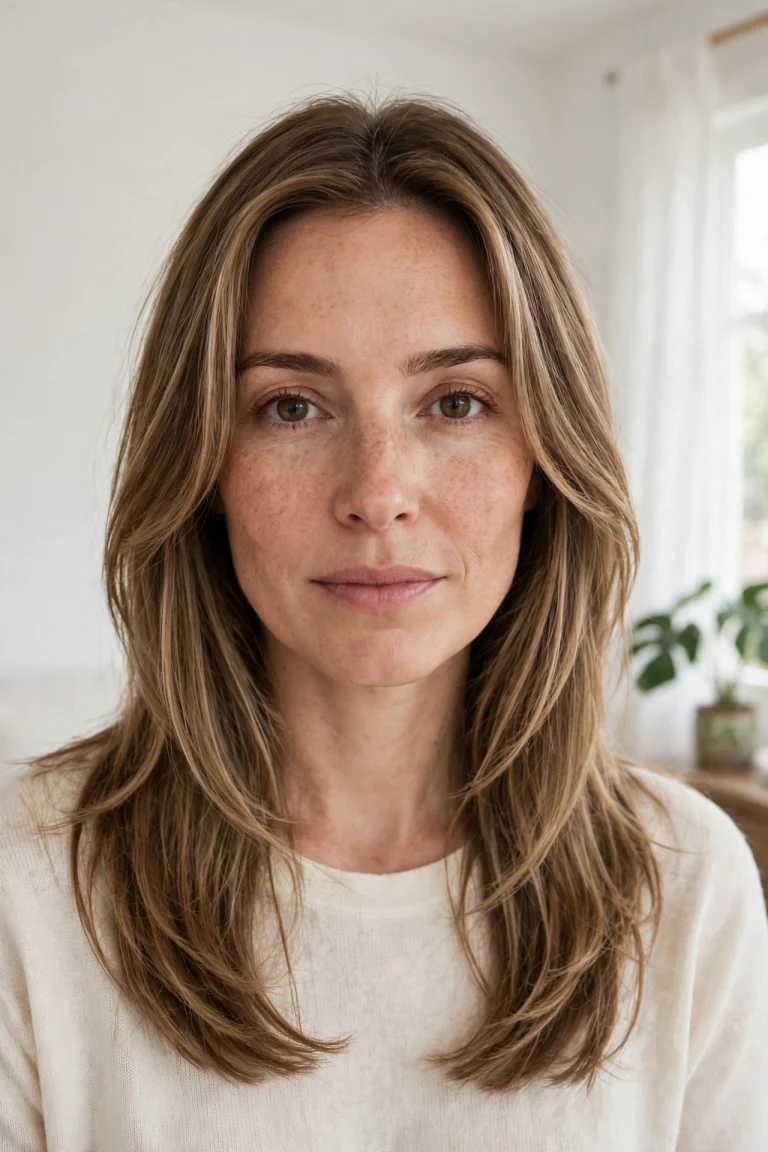
1. Classic Butterfly With Long Layers
The classic butterfly keeps the formula simple: short layers on top that flick outward, longer layers underneath that hold the length. Ask for the shortest layer to sit around the cheekbones, so the top section reads as a voluminous crown while the bottom section falls past the shoulders. Blow-dried with a round brush, the two lengths separate beautifully, and the hair looks twice as full as it actually is.
2. Butterfly With Curtain Bangs
Butterfly layers and curtain bangs were made for each other, since the bangs are simply the shortest face-framing layer carried forward. The curtain fringe parts in the middle and sweeps into the cheekbone layers, so the whole front of the hair moves as one soft, winged shape. This is the version to show your stylist if you want the full butterfly effect, because the bangs complete the silhouette.
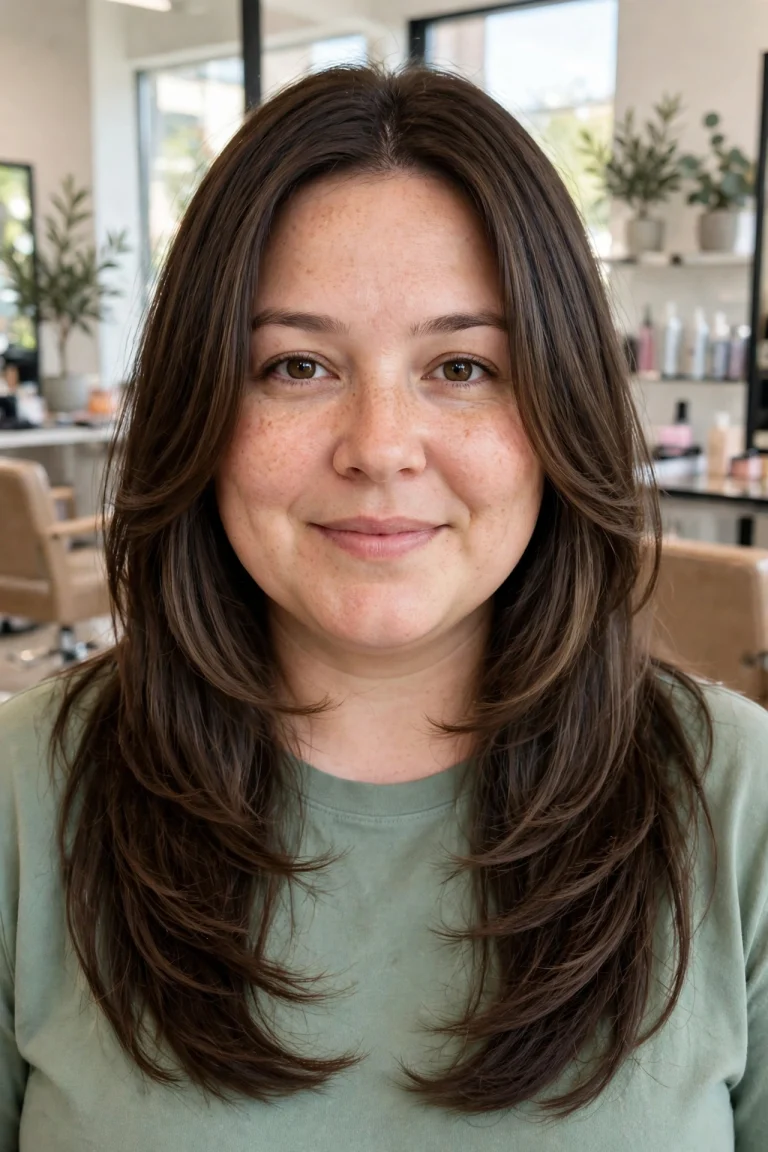
3. Butterfly Cut for Thick Hair
Thick hair is where the butterfly earns its reputation, because the short top layers remove bulk exactly where thick hair tends to sit heavy and triangular. The internal layering lets the crown breathe while the lengths keep their weight, so the hair swings instead of sitting in one solid block. Ask your stylist to thin through the interior rather than the ends, so the length stays blunt and healthy-looking.
4. Butterfly Cut for Fine Hair
Fine hair gets volume from a butterfly cut in a different way: the short layers are cut slightly blunter, so each one stacks on the next and builds a cushion of fullness at the crown. Keep the layering concentrated around the face and crown rather than through the whole head, so the ends do not go wispy. A little texture spray at the roots finishes the illusion, and the hair looks far denser than it is.
5. Butterfly With Face-Framing Highlights
Face-framing highlights make butterfly layers visible, because the lighter pieces catch the light exactly where each layer turns outward. Keep the brightness close to the face and through the shortest layers, with the under-lengths a shade deeper for contrast. The result is dimension that moves when you move, and the layers read clearly even in a photograph taken from across the room.
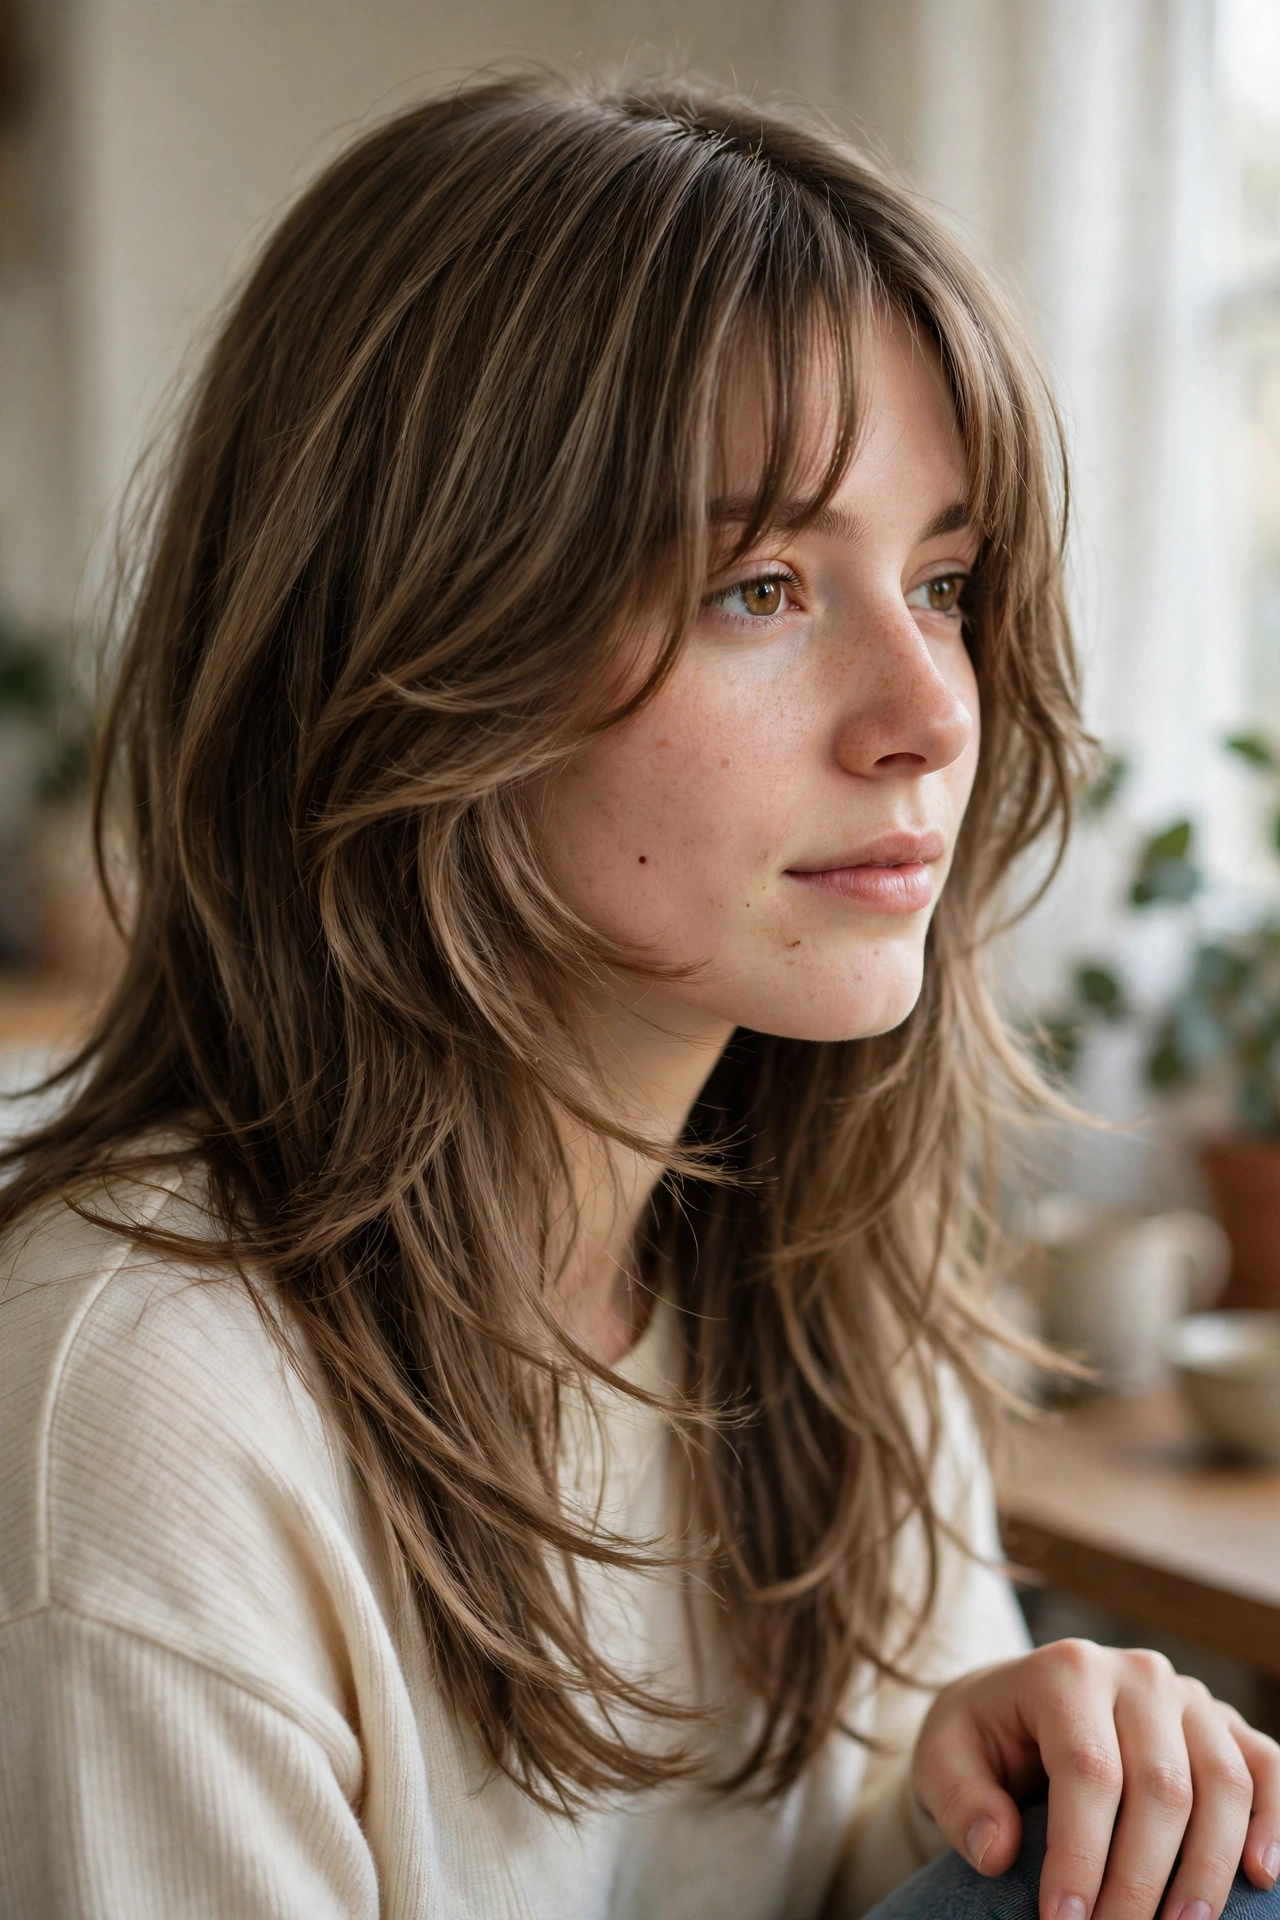
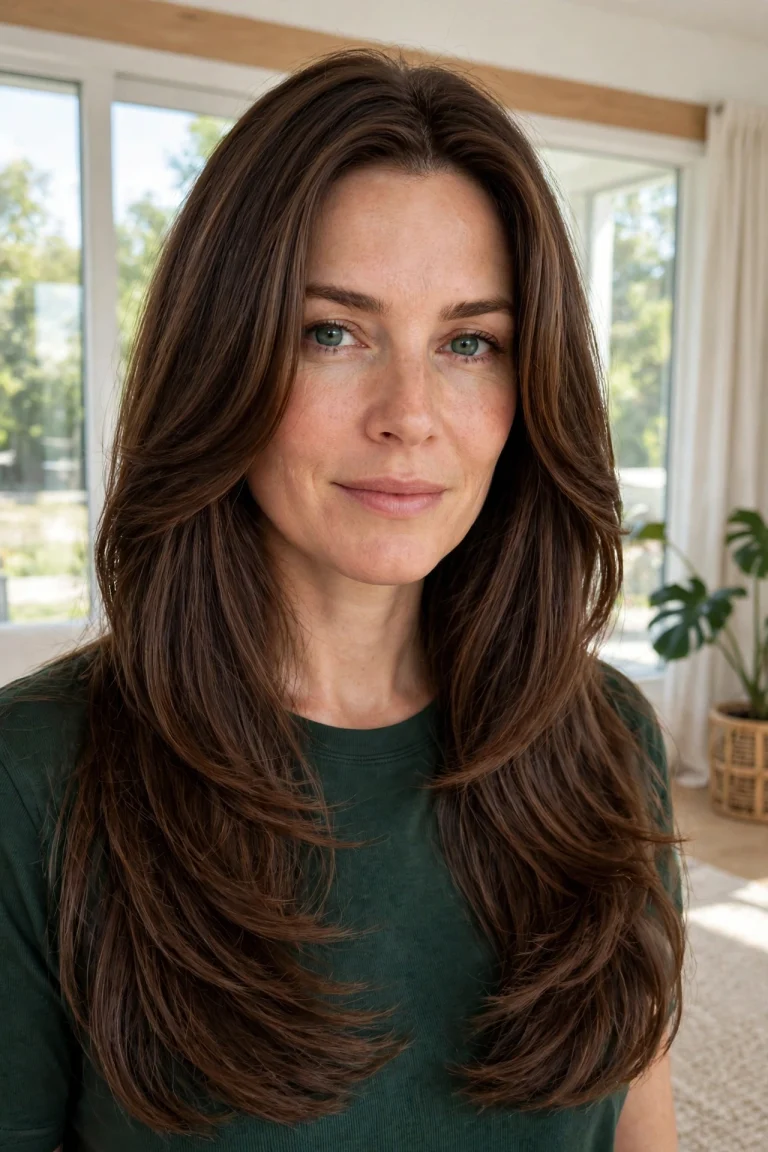
6. Butterfly Cut With a Middle Part
A middle part shows off butterfly symmetry at its best, with the layers falling evenly on both sides like open wings. The part keeps the shortest layers balanced around the face, and the crown volume sits evenly instead of leaning to one side. This is the most polished way to wear the cut, and it suits oval and heart-shaped faces particularly well.
7. Butterfly With a Deep Side Part
A deep side part gives the butterfly cut drama, sweeping the short layers across the forehead and piling volume on one side. The heavy side reads glamorous and full, while the lighter side stays tucked and neat behind the ear. It is a good choice for anyone whose hair naturally falls to one side, since it works with the growth pattern instead of against it.
8. Butterfly Cut for Wavy Hair
Wavy hair and butterfly layers are natural partners, because the layers release wave pattern that long, one-length hair often pulls flat. Each short layer springs up into its own wave, while the longer layers underneath keep the overall shape grounded. Scrunch with a light cream and let it air-dry, and the cut does most of the styling work on its own.
9. Butterfly Cut for Curly Hair
A butterfly cut on curly hair needs a curl-aware stylist, since the short layers must be cut to respect each curl’s spring. When it is done right, the top layers form a halo of curls around the face while the longer curls underneath keep the length, and the shape stays round instead of triangular. Ask for dry cutting or curl-by-curl shaping, and never let the shortest layer be cut wet to cheekbone length without accounting for shrinkage.
10. Butterfly Cut for Straight Hair
Straight hair shows butterfly layering most crisply, because every layer edge is visible and the flicked-out ends read as deliberate shape. The cut needs regular blow-drying or a large-barrel curl to keep the layers turning outward, since straight hair will otherwise fall flat against itself. The payoff is a sleek, expensive-looking finish that photographs beautifully from every angle.
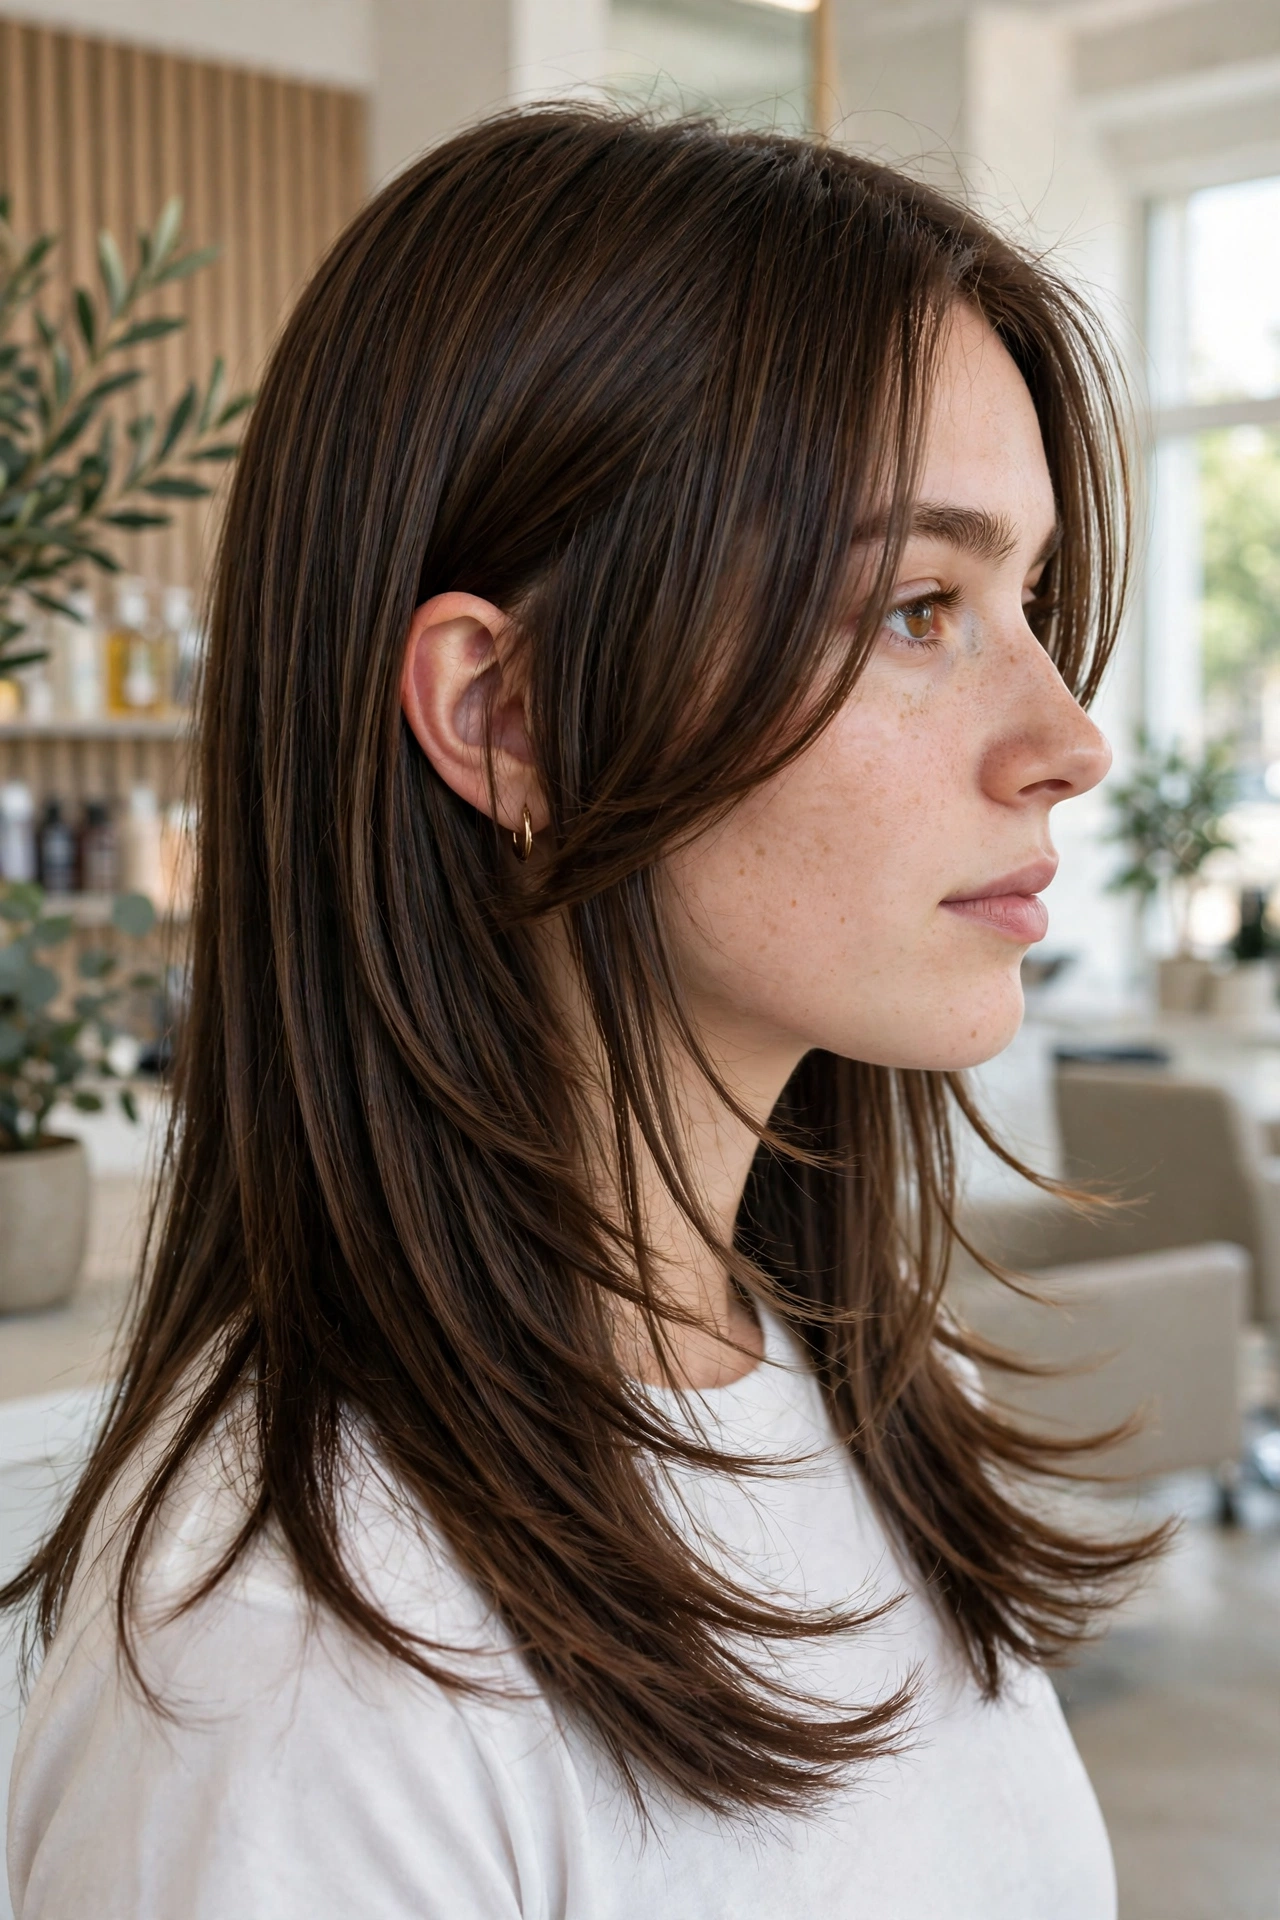
11. Long Butterfly With Layers Starting at the Chin
Starting the shortest layer at the chin is the gentlest entry into the butterfly cut, ideal if you are nervous about short layers. The chin-length pieces frame the jaw softly, and the graduation down to the ends is subtle enough that the cut still reads as long hair. It is also the most forgiving version as it grows out, since the layers simply blend further down.
12. Butterfly With Short Crown Layers
Short crown layers are the high-volume version, with the top section cut to the cheekbones or even the temples for maximum lift. The crown layers stand away from the head when blow-dried, creating the airy, winged silhouette the cut is named for. This version suits anyone whose hair lies flat at the roots, since the short layers physically cannot lie flat.
13. Butterfly Cut With Blunt Ends
Blunt ends anchor a butterfly cut, keeping the bottom length looking thick and deliberate while the top layers do the moving. The contrast between the airy top and the solid bottom is what makes the hair look both full and long at once. Ask your stylist to keep the perimeter blunt and do all the shaping through the interior layers, so the ends never go thin.
14. Butterfly Cut With Feathered Ends
Feathered ends soften the whole butterfly silhouette, with the lengths point-cut so they taper into soft, airy points instead of a hard line. The feathering continues the winged feeling all the way down, and the hair moves more freely when you turn your head. This is the romantic version of the cut, and it suits anyone who dislikes a blunt, heavy hemline.
15. Butterfly Cut With Balayage
Balayage is the colour that best explains butterfly layers, since the hand-painted lightness lands on the pieces that move. Ask for brightness concentrated through the top layers and around the face, fading into a deeper base underneath, so the cut’s dimension is painted in as well as cut in. The grow-out is soft, which suits the butterfly’s low-maintenance appeal, and the colour never fights the layering.
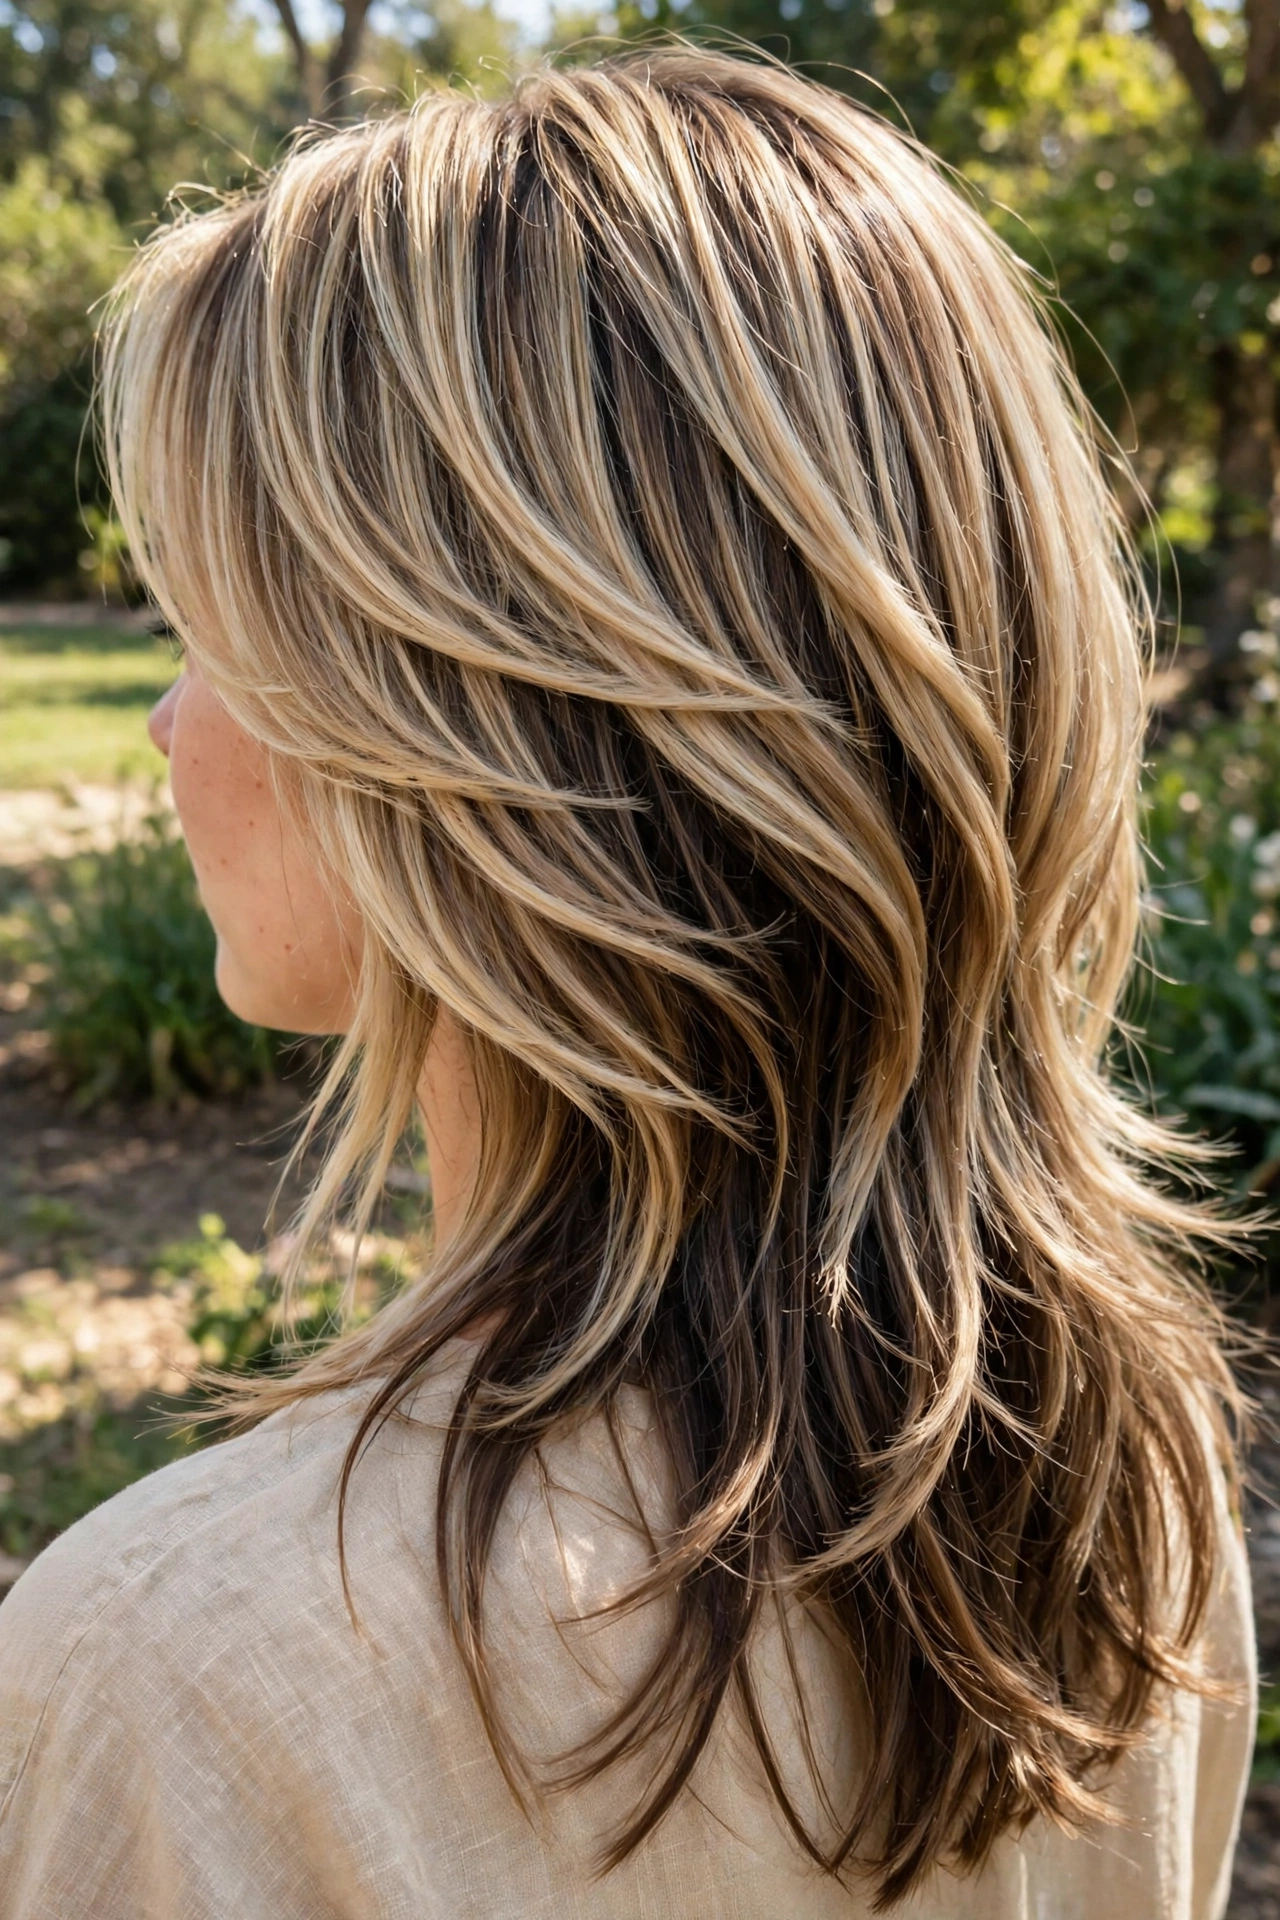
16. Butterfly Cut for Round Faces
A butterfly cut flatters a round face when the shortest layer starts below the cheekbones and the face-framing pieces angle downward. The longer front layers draw the eye down and create the illusion of length, while the crown volume adds height that balances width. Avoid a shortest layer that ends right at the widest part of the cheeks, since that emphasises exactly what you want to soften.
17. Butterfly Cut for Oval Faces
Oval faces can take the butterfly cut at any layer length, since the proportions are already balanced and the cut simply adds movement. The classic cheekbone-length shortest layer works beautifully, and you can experiment with curtain bangs or a middle part without worrying about overwhelming the face. It is the face shape that gets to enjoy the cut in its purest form.
18. Butterfly Cut for Heart-Shaped Faces
A heart-shaped face benefits from butterfly layers that start at the jaw, since the fullness lower down balances a wider forehead and narrower chin. Keep the crown layers soft rather than towering, and let the face-framing pieces fall past the jawline before they flick outward. The result softens the forehead, fills in around the chin, and keeps the whole silhouette balanced.
19. Butterfly Cut for Square Faces
A square face needs butterfly layers that soften the jaw, so ask for the face-framing pieces to curve inward at jaw level rather than flicking straight out. Wispy, feathered ends around the face break up the strong jawline, while the crown volume draws attention upward. The cut keeps its signature movement without adding hard angles where the face already has them.
20. Butterfly Cut With a Blowout Finish
The blowout is the butterfly cut’s signature finish, and it is worth learning the technique properly. Dry the top layers with a large round brush, rolling each section outward and away from the face, and let the under-lengths dry smooth and straight. The contrast between flicked top layers and sleek lengths is the whole look, and a cool shot on each section locks it in for the day.
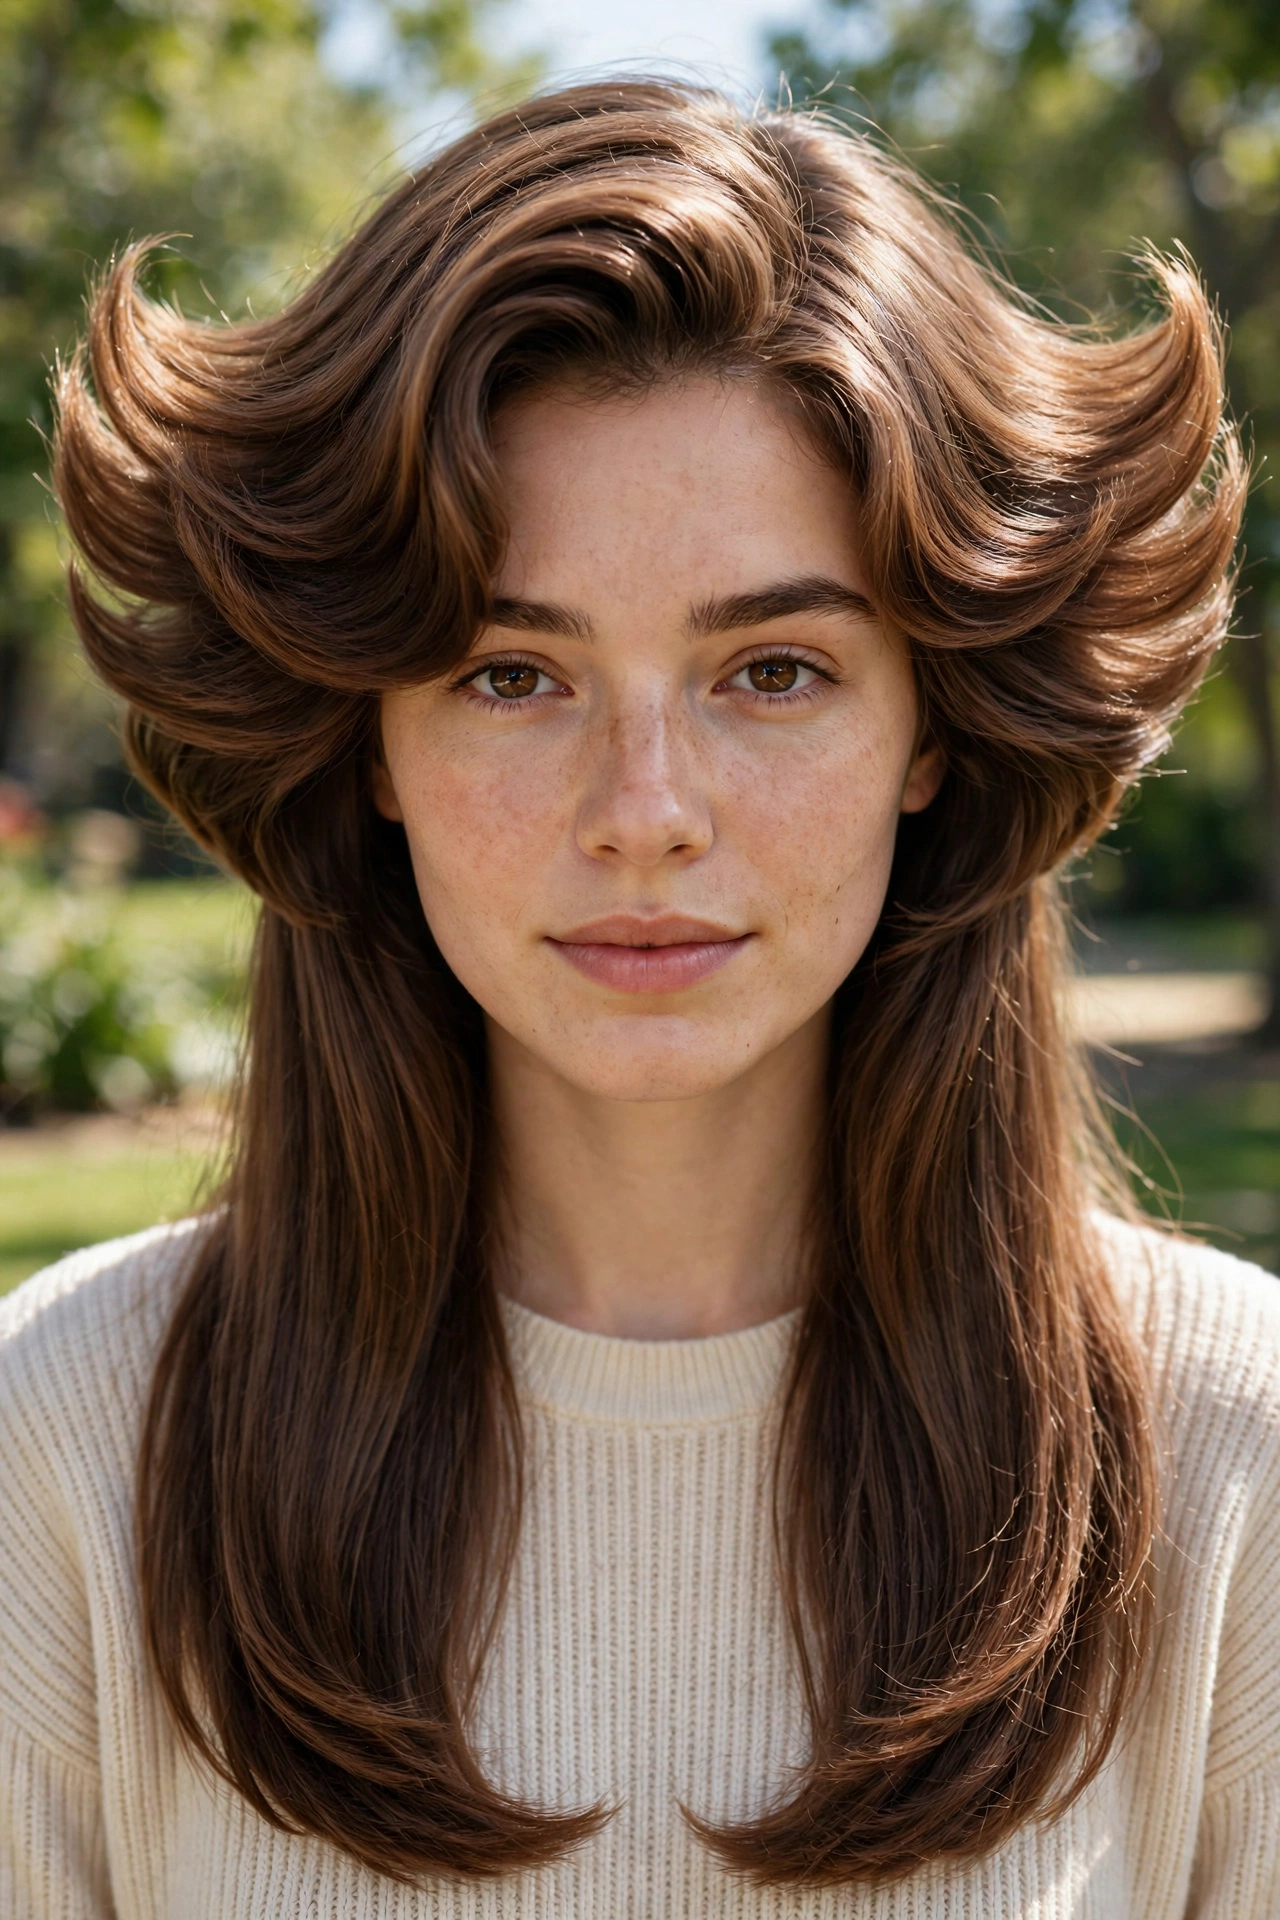
21. Butterfly Cut With Air-Dried Texture
An air-dried butterfly cut is the low-effort version, and it works best on hair with natural wave or texture. Scrunch a light mousse through the layers, twist the face-framing pieces away from the face, and leave the hair alone until it is fully dry. The layers will separate on their own into soft, lived-in wings, and the finish looks deliberately undone rather than unfinished.
22. Butterfly Cut for Growing Out a Bob
The butterfly cut is the kindest way to grow out a bob, because it turns the awkward in-between stage into a deliberate style. The bob’s existing length becomes the under-layer, while new short layers are added through the top to create volume while the rest catches up. Instead of months of shapeless growing, you get a cut that looks intentional at every stage, and the length arrives without a single drastic chop.
23. Butterfly Cut With Money Piece Highlights
A money piece, the bright front section framing the face, makes butterfly layers pop in photographs and in real life. Keep the brightness to the two front pieces and the shortest layers, so the effect reads as sunlight catching the wings of the cut rather than an all-over colour. It is a small amount of colour with an outsized effect, and it grows out gracefully.
24. Butterfly Cut for Wedding Guest Hair
A butterfly cut styles up beautifully for a wedding, since the layers hold curl and volume through a long day of photographs. Set the top layers in large, soft curls and pin one side back, leaving the lengths to fall in loose waves, and the cut does the work of an updo without any pins in the back. The face-framing layers keep the front interesting in every photograph, which is exactly what wedding guest hair needs.
25. Butterfly Cut With a Slicked-Back Front
A slicked-back front gives the butterfly cut an editorial edge, with the top layers smoothed back from the face while the lengths stay full and winged. Apply a light gel or cream to the front sections only, comb them straight back, and let the layers behind them keep their volume and flick. The contrast between the controlled front and the airy lengths is striking, and it is a useful trick when the face-framing pieces need a day off.
Styling Tips
- Blow-dry the top layers with a large round brush, rolling outward and away from the face, to get the signature winged flick.
- Use a volumising mousse at the roots before drying, since the butterfly cut’s volume comes from lift at the crown, not from backcombing.
- Keep the under-lengths smooth and sleek, because the contrast with the flicked top layers is what makes the cut read as a butterfly.
- Ask your stylist to cut the shortest layer dry or to check it dry, so the layer lands exactly where you want it once the hair settles.
- Refresh second-day layers with a large-barrel curling iron, curling only the face-framing pieces and the top layer.
- Use a light texturising spray rather than heavy wax, since heavy products pull the short layers flat and kill the airy effect.
- Trim every eight to ten weeks to keep the layer graduation crisp, since grown-out layers blend together and the winged shape disappears.
Frequently Asked Questions
Q: What is the difference between a butterfly haircut and regular layers? A: A butterfly cut uses two distinct lengths: very short layers through the crown and around the face, and much longer layers underneath. Regular layers graduate gradually from top to bottom, while the butterfly deliberately keeps the top section short and the bottom section long, so the hair reads as both short and long at once. The contrast is the point, and it is what creates the volume without losing length.
Q: Does a butterfly cut work on thin or fine hair? A: Yes, with the right approach. The short layers should be cut slightly blunter so they stack and build fullness, and the layering should stay concentrated around the face and crown rather than thinning the whole head. Heavy thinning or razor work will make fine hair look wispy, so ask for clean, blunt layer edges and a light volumising product at the roots.
Q: Will a butterfly cut make my hair look shorter? A: From the front it can look shorter, because the shortest layers sit at the cheekbones and create a voluminous frame. From the back and the side, the full length is still there, since the under-lengths are untouched. If keeping the long look matters most, ask for the shortest layer to start at the chin rather than the cheekbones, and the cut will read as long from every angle.
Q: How do I style a butterfly cut at home? A: The essential tool is a large round brush and a hairdryer, used to roll the top layers outward and away from the face. Dry the under-lengths smooth, then finish the face-framing pieces last, rolling them away from the face and letting them cool before you touch them. On non-wash days, a large-barrel curling iron on just the front pieces revives the whole shape in minutes.
Q: How often should I get a butterfly cut trimmed? A: Every eight to ten weeks is ideal, since the cut depends on a crisp graduation between the short top layers and the long under-lengths. As the layers grow, they blend together and the winged silhouette softens into ordinary layers. A trim that reshapes only the top section is often enough, and it keeps the length underneath growing undisturbed.