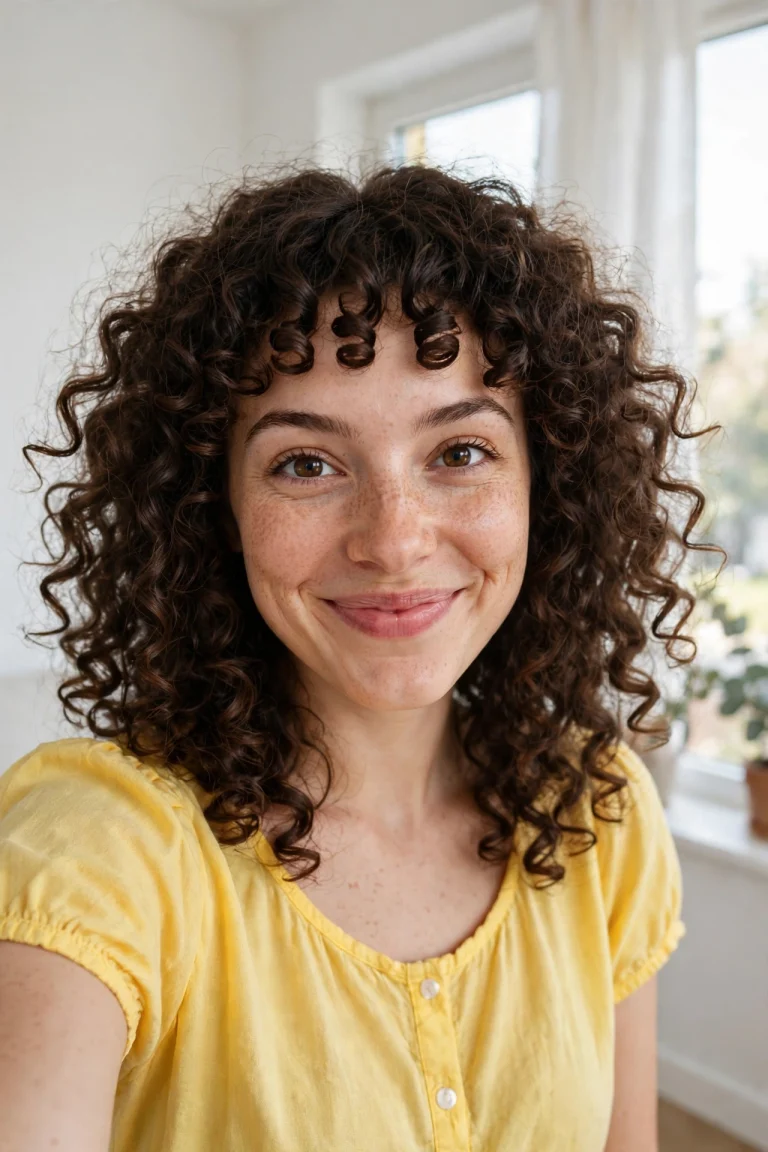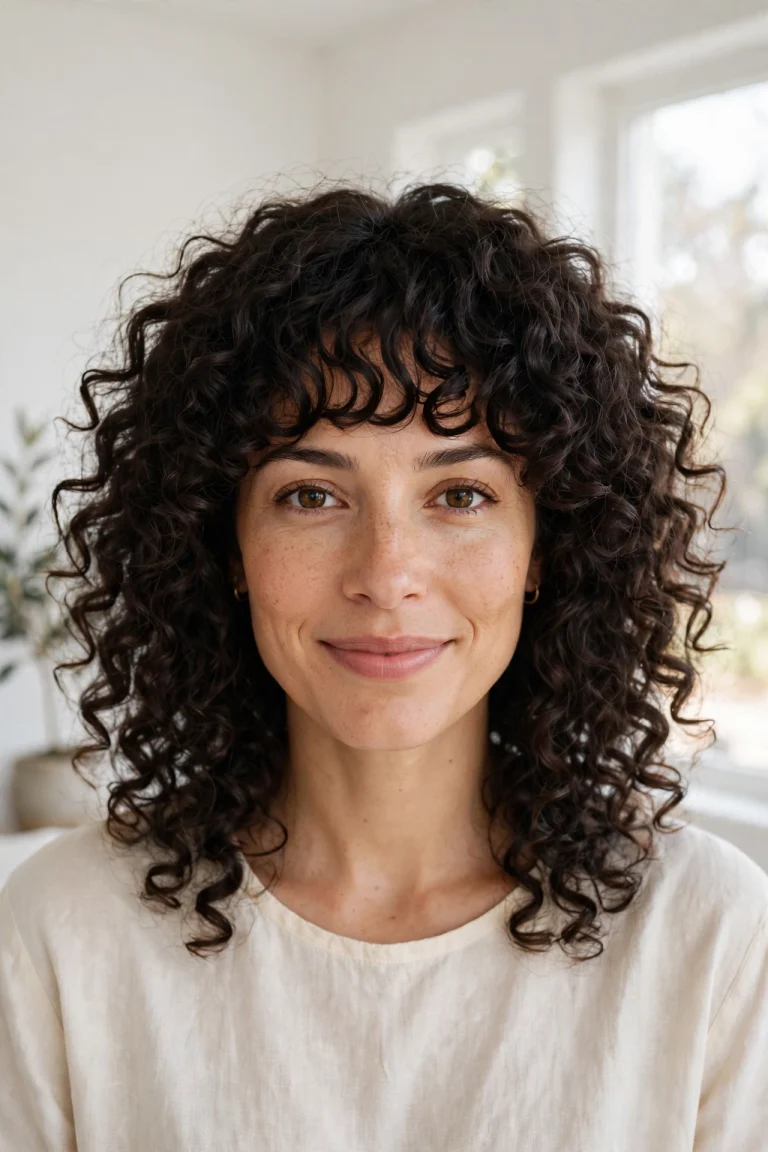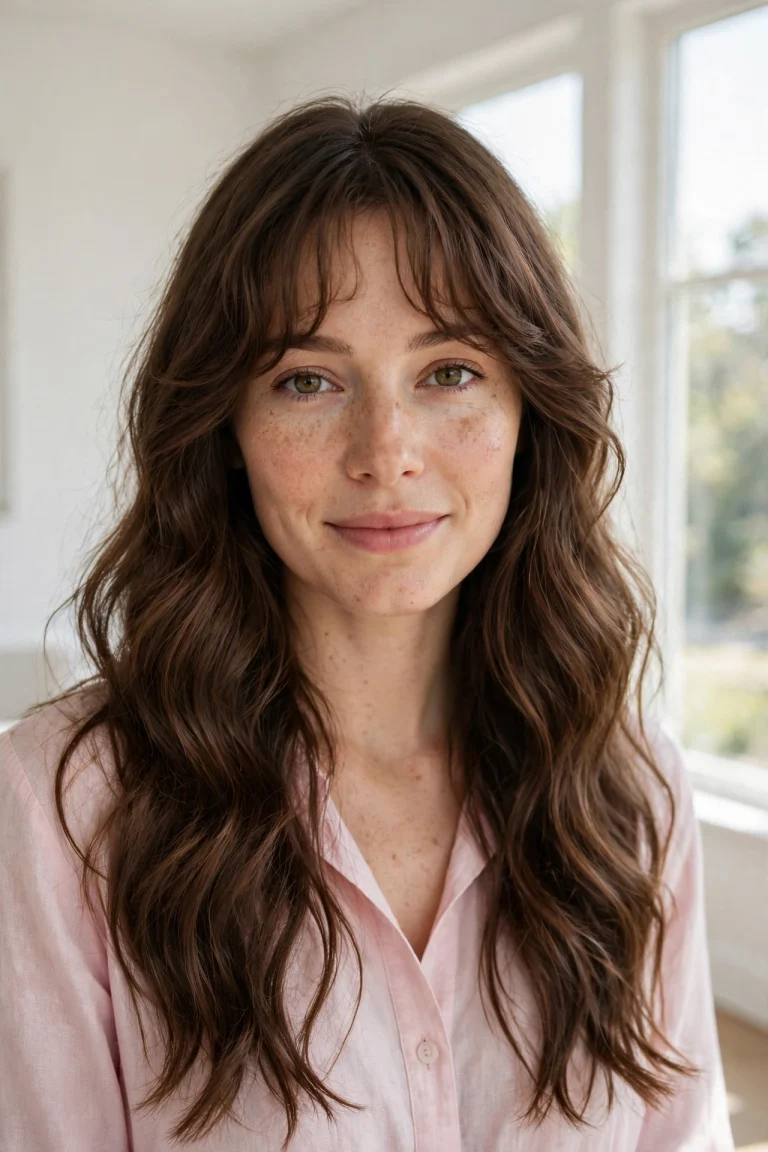
20 Curly Bangs Ideas for Growing Out Gracefully
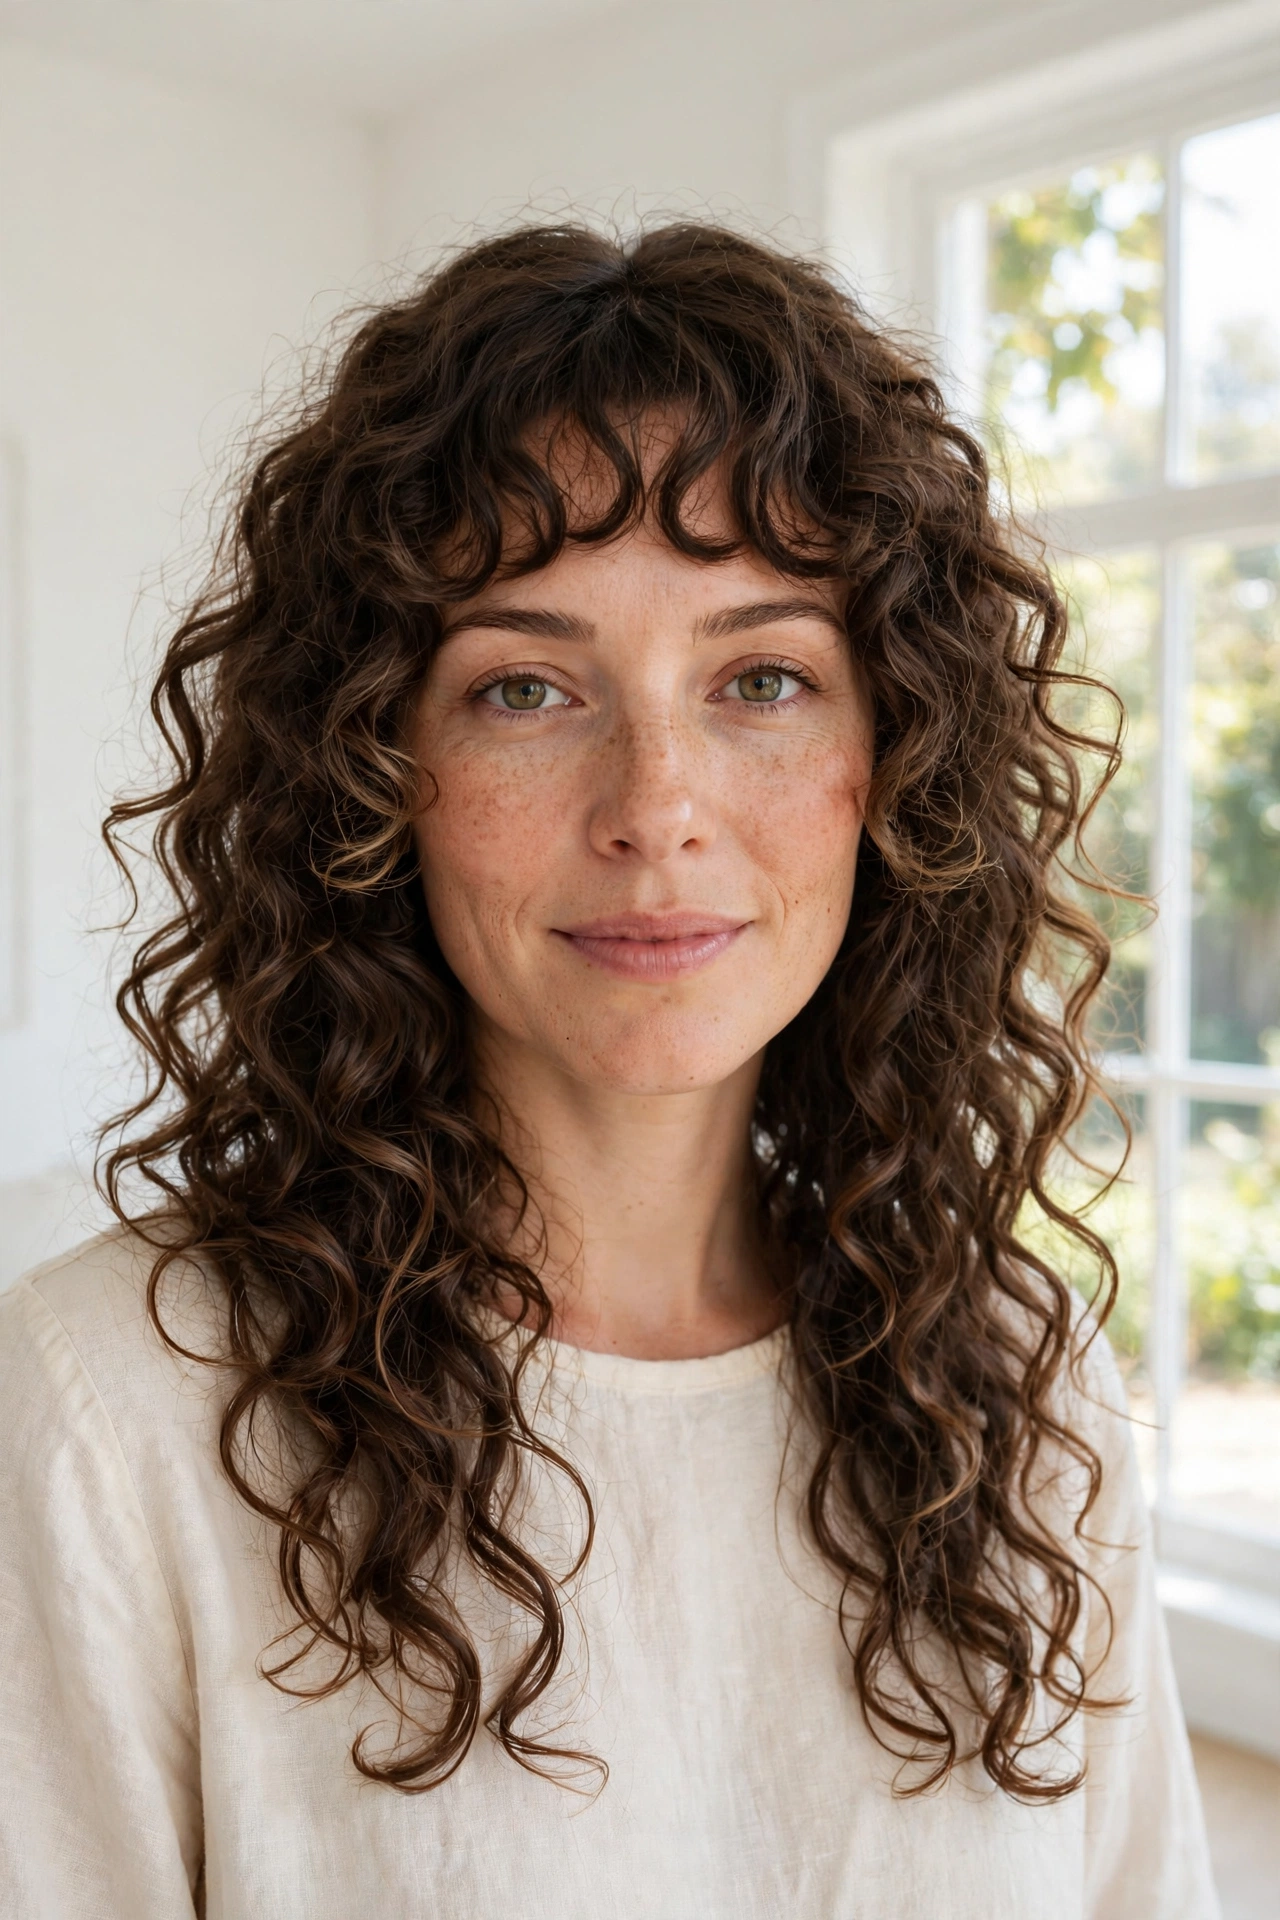
Growing out curly bangs does not have to mean an awkward in-between stage. With clever blending, gentle styling tricks, and patient trims, the fringe can evolve beautifully into longer lengths. These ideas help every stage of the grow-out look intentional.
1. Grow-Out Curls with Blended Length Stages
Blended length stages use gradual layers so the growing fringe merges into the rest of the hair without a harsh step. Each trim blends the boundary a little more. The grow-out looks planned rather than accidental.
2. Grow-Out Curly Fringe with Soft Pin-Back Days
Soft pin-back days use small, gentle pins to hold the longest fringe curls back on days they fall into your eyes. The pins should sit flat and blend in, not pull tightly. This is a practical bridge through the trickiest length.
3. Grow-Out Curly Fringe with a Headband Transition
A headband transition pushes growing curls back softly while keeping volume at the front. Choose a wide, comfortable headband that does not flatten curls. It turns a grow-out day into a styled look in seconds.
4. Grow-Out Curly Fringe with Twisted Front Pieces
Twisted front pieces twist the longest fringe curls gently away from the face, securing them loosely. The twists add a pretty detail while the fringe grows. Keep twists loose so curls are not stretched out of shape.
5. Grow-Out Curly Fringe with Braided Front Sections
Braided front sections braid the growing fringe pieces into the hair near the temples, hiding uneven lengths. The braids should be loose and soft, not tight. This is a lovely option for longer grow-out days.
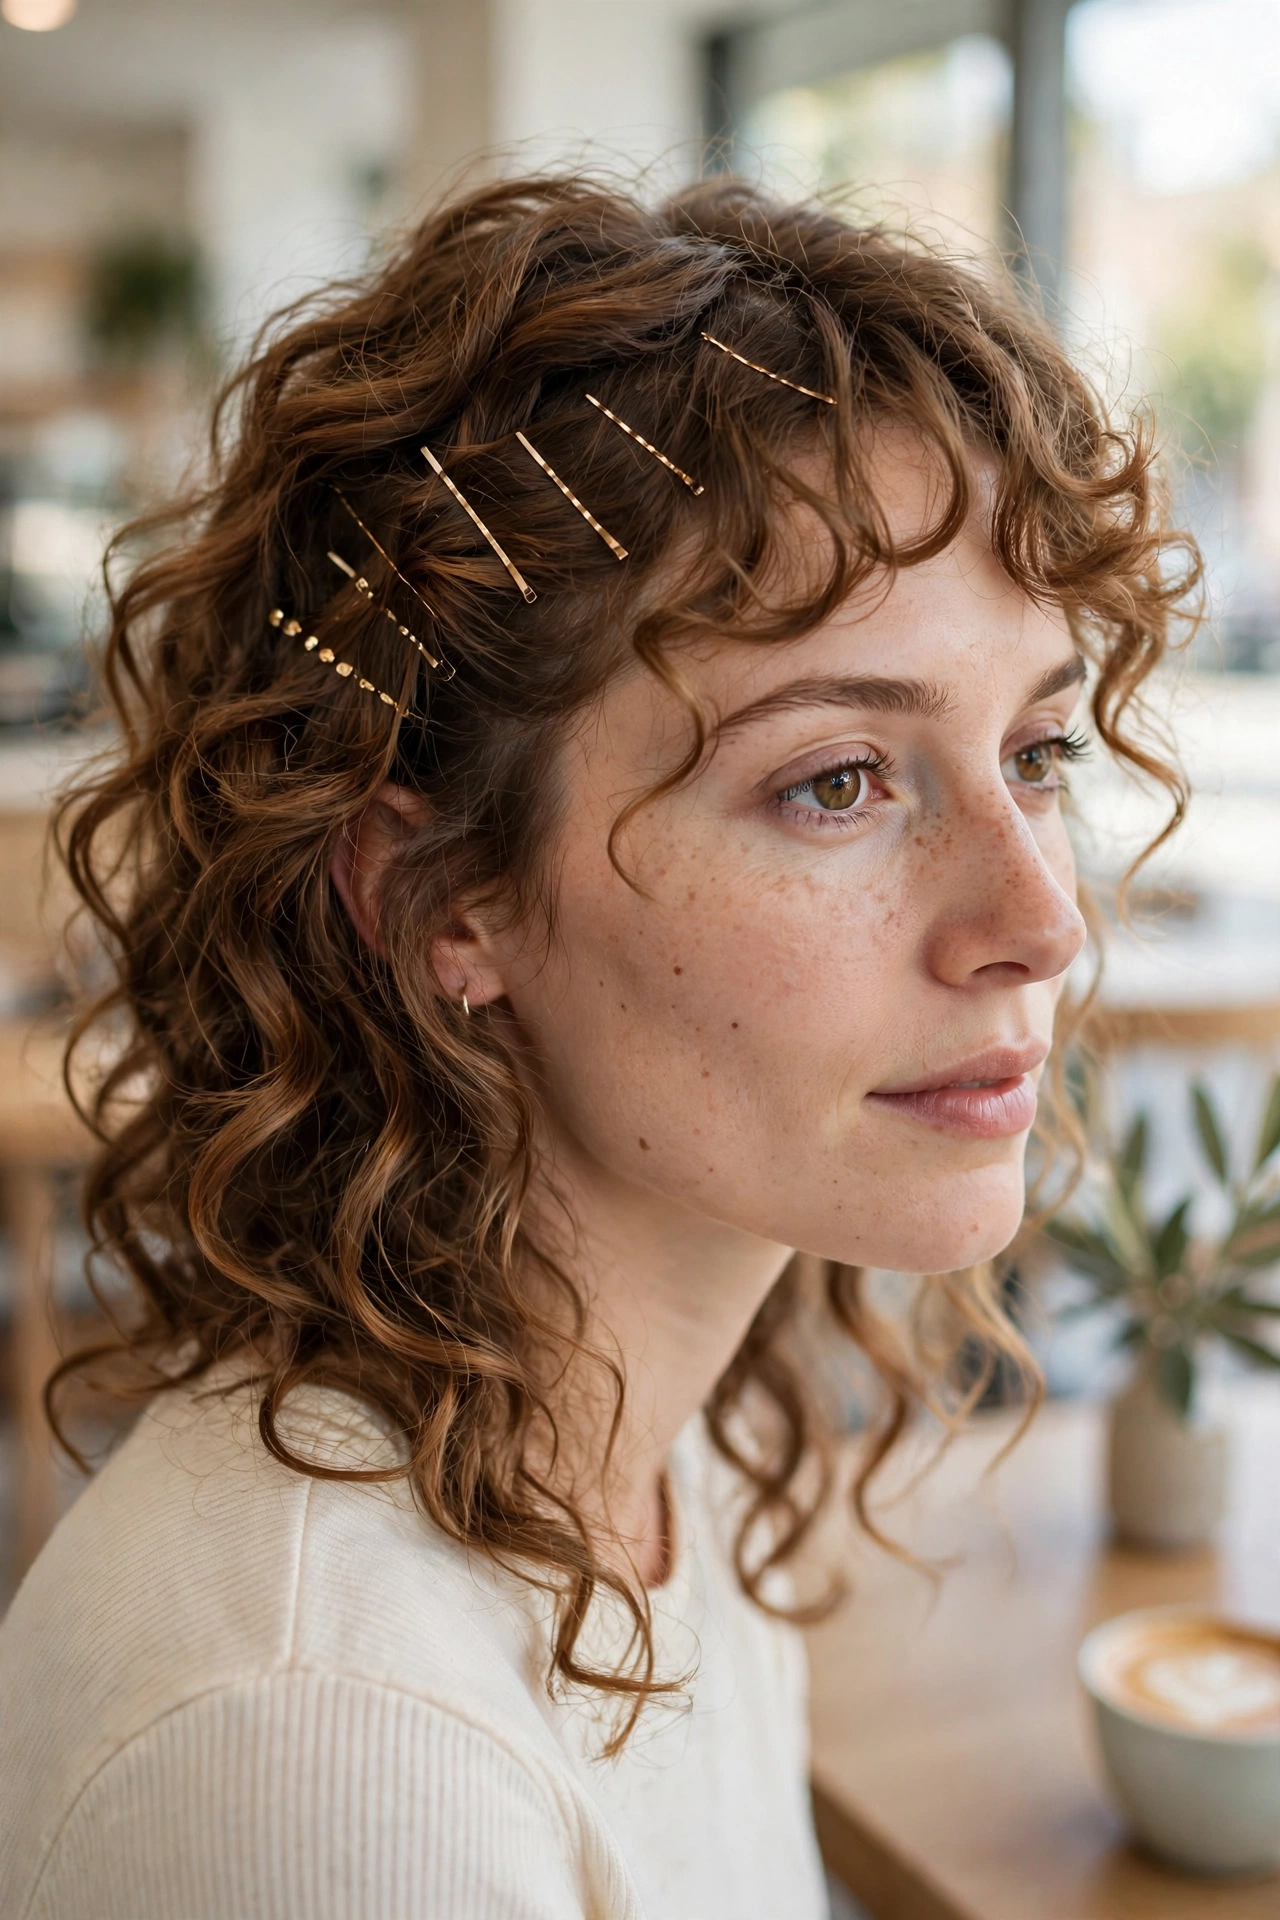
6. Grow-Out Curly Fringe with Clipped Temple Pieces
Clipped temple pieces use small clips to hold growing curls at the temples, keeping the face clear. The clips add a subtle, pretty detail. Choose clips that match your hair colour for a seamless look.
7. Grow-Out Curly Fringe with a Longer Middle Section
A longer middle section lets the centre of the fringe grow slightly ahead, creating a soft, natural point to blend from. The longer centre guides the eye downward and eases the transition. It also gives you a clear blending shape to grow toward.
8. Grow-Out Curly Fringe with Layered Blending Trims
Layered blending trims remove bulk at the boundary between fringe and lengths, so the grow-out merges smoothly. Ask for dusting trims rather than big cuts during this stage. The fringe keeps growing while the join stays invisible.
9. Grow-Out Curly Fringe with a Gathered Crown Transition
A gathered crown transition lifts the top section loosely, letting growing fringe curls blend into the gathered shape. The gathering hides uneven lengths at the front. Keep the gathering soft so curls stay visible.
10. Grow-Out Curly Fringe with Soft Roller Pin Days
Soft roller pin days use large, gentle rollers or pins to set growing curls into a smooth, blended wave. The set gives the fringe a polished shape while it grows. This is a good choice for special occasions during grow-out.

11. Grow-Out Curly Fringe with a Scarf-Styled Transition
A scarf-styled transition wraps a soft scarf around the hairline, holding growing curls back in a stylish way. The scarf adds colour and personality to the grow-out stage. It is both practical and fashionable.
12. Grow-Out Curly Fringe with Cheek-Length Transition Layers
Cheek-length transition layers cut the growing fringe into soft layers that end at the cheekbones. These layers bridge the gap between fringe and full length. They also frame the face beautifully during grow-out.
13. Grow-Out Curly Fringe with a Half-Pinned Front
A half-pinned front pins only the longest or most unruly fringe pieces, leaving the rest free. This keeps the style looking natural rather than fully pulled back. It is a flexible option for uneven grow-out days.
14. Grow-Out Curly Fringe with Curl-Defining Grow-Out Care
Curl-defining care becomes even more important during grow-out, since defined curls hide uneven lengths better. Keep curls moisturised and well shaped with cream and gel. Defined curls make every stage look deliberate.
15. Grow-Out Curly Fringe with a Low Gathered Transition
A low gathered transition pulls the back and sides together low, while growing fringe curls stay free at the front. The low gathering balances the longer front pieces. It is an elegant everyday grow-out style.
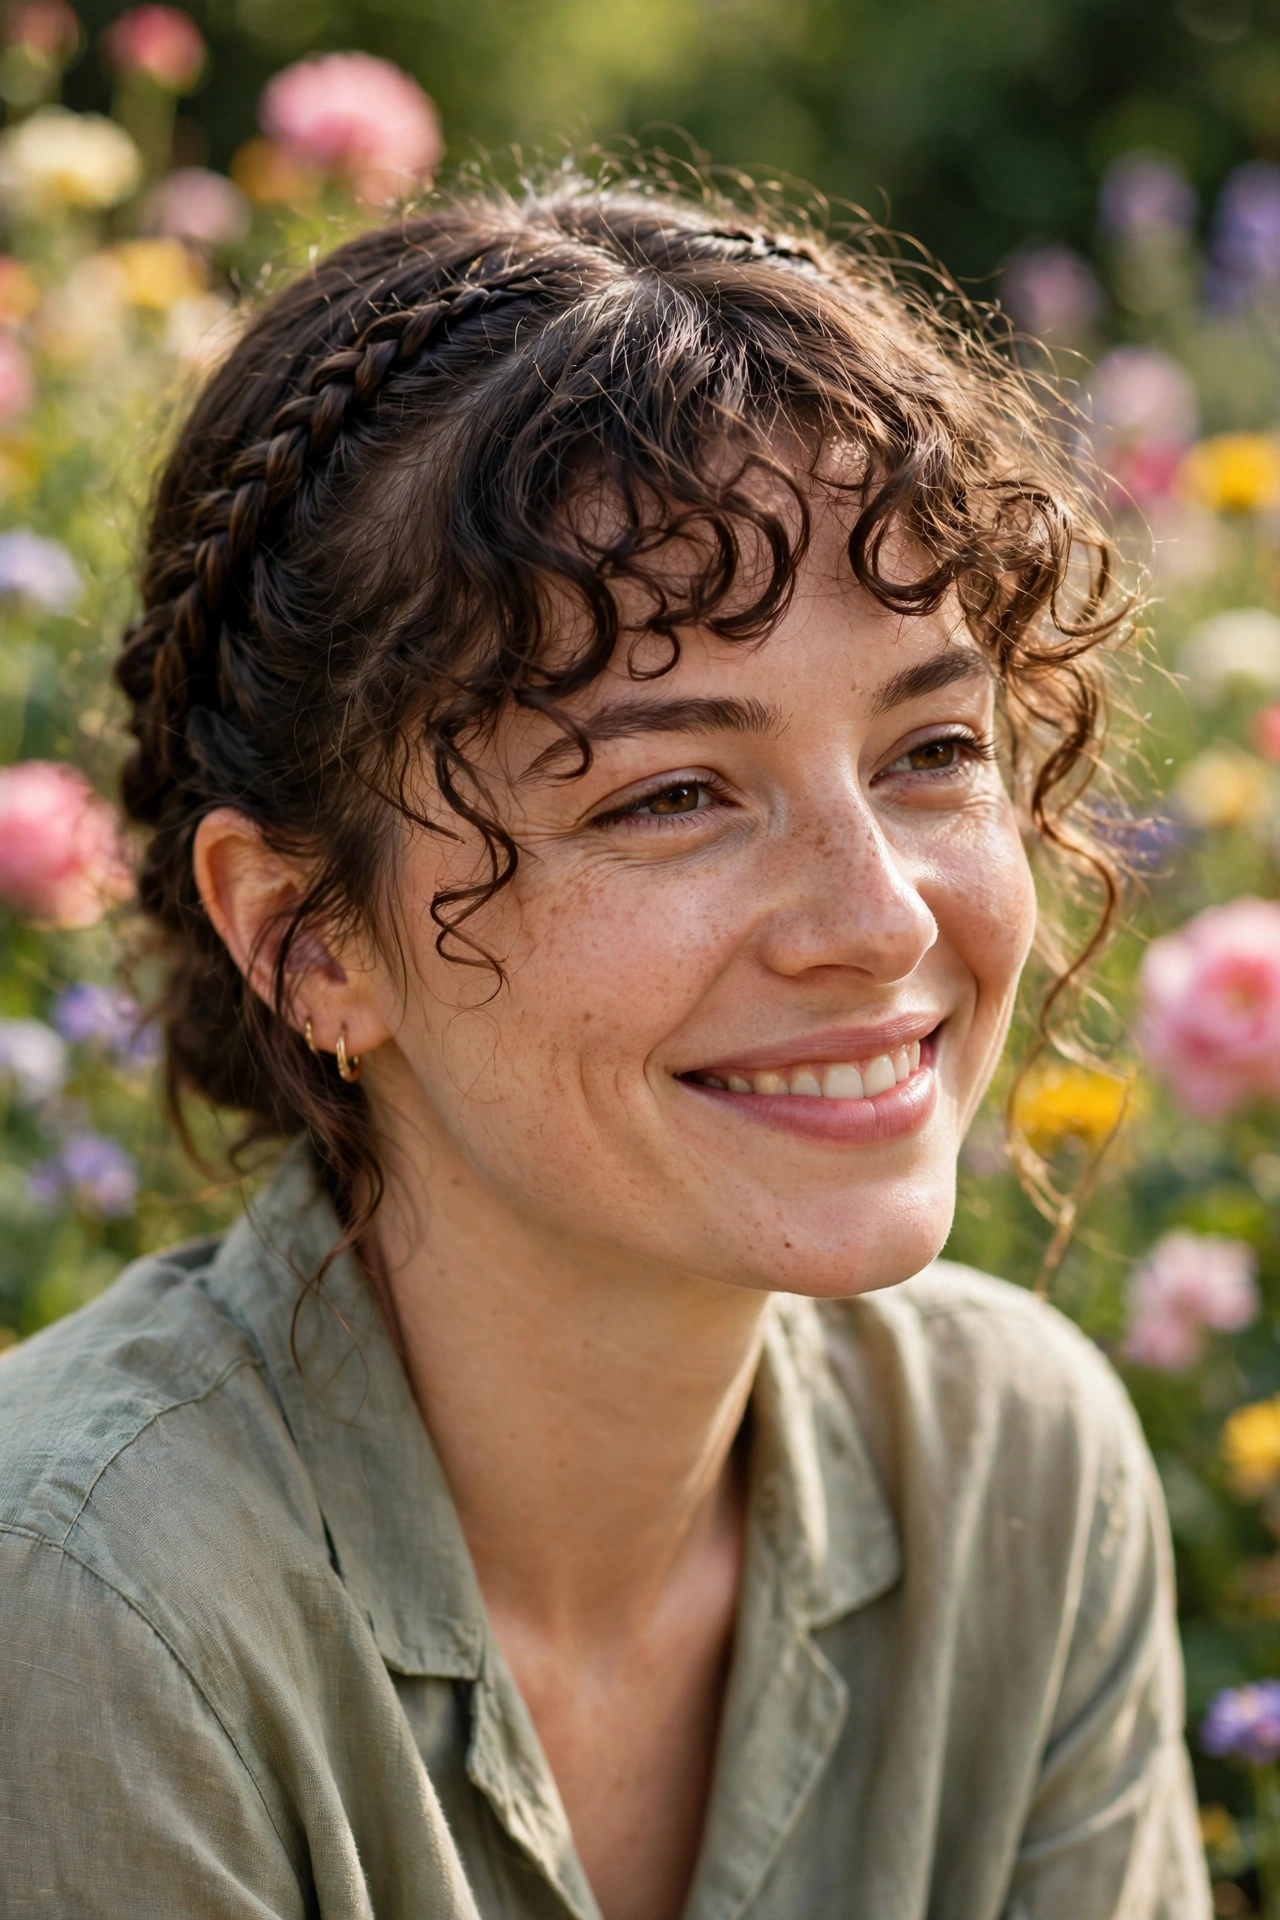
16. Grow-Out Curly Fringe with a Textured Grow-Out Shape
A textured grow-out shape embraces the natural unevenness of growing curls as texture rather than a flaw. The varied lengths create interesting, organic movement. This mindset makes grow-out far less frustrating.
17. Grow-Out Curly Fringe with Patience-Friendly Trims
Patience-friendly trims are tiny, infrequent dustings that keep ends healthy without removing grow-out progress. They prevent split ends from travelling up the hair. This approach keeps growth steady and healthy.
18. Grow-Out Curly Fringe with a Temple-Clip Transition
A temple-clip transition clips growing curls at the temples with decorative or plain clips. The clips keep the fringe out of the eyes while adding a finished detail. Change clip styles to suit different occasions.
19. Grow-Out Curly Fringe with a Soft Grow-Out Layered Shape
A soft grow-out layered shape layers the entire front section so the fringe gradually becomes part of the lengths. The layering is gentle and rounded, never choppy. Over time, the fringe simply disappears into the cut.
20. Grow-Out Curly Fringe with a Final Blend-In Finish
A final blend-in finish is the last step, where the grown fringe is shaped into face-framing layers. The fringe is no longer separate; it is part of the whole style. Celebrate this stage with a fresh, blended cut.
Styling Tips
- Be patient and trim only the ends during grow-out, so length progress is not lost.
- Use blending layers to merge the fringe into the lengths instead of cutting it all off.
- Keep curls defined and moisturised, since defined curls hide uneven grow-out lengths better.
- Use soft pins, clips, headbands, or scarves on days the fringe falls into your eyes.
- Avoid tight pulling, which can stretch curls and cause breakage at the hairline.
- Refresh growing curls with water mist and a little cream, reshaping by hand.
- Sleep on satin to protect fragile growing ends overnight.
- Plan trims every eight to ten weeks for dusting, not reshaping, during grow-out.
Frequently Asked Questions
How long does it take to grow out curly bangs?
It depends on your starting length, curl shrinkage, and target length, but most grow-outs take several months. Curly hair grows at a similar rate to other hair, though shrinkage can hide progress. Regular photos help you see growth that daily mirrors miss.
What is the hardest stage of growing out curly bangs?
The eye-length stage is often hardest, when curls fall into the eyes but are too short to tuck away neatly. Pins, clips, twists, and headbands help through this stage. Blending layers also make this length look intentional.
Should I trim while growing out curly bangs?
Yes, but only light dusting trims to remove split ends and blend the join with the lengths. Avoid reshaping the fringe back to its original short length. Small trims keep hair healthy without losing progress.
How can I hide uneven growth during grow-out?
Defined curls, blending layers, and soft styling tricks like twists, braids, and clips all hide unevenness. Curls naturally vary in length, so a little variation looks normal. Focus on overall shape rather than perfect evenness.
When will my grown fringe blend into my hair?
Once the fringe reaches cheekbone to chin length, it usually blends naturally into face-framing layers. A final blending cut shapes it into the rest of the hair. From there, it is simply part of your longer style.